Introduction to Web Accessibility
Web accessibility is a crucial aspect of website development that ensures content can be easily accessed and used by everyone, regardless of limitations or disabilities. By embracing accessibility, developers not only cater to users with disabilities but also improve the overall usability and SEO of their websites. In this article, we will discuss the importance of web accessibility and share practical tips on how to create accessible websites that prioritize inclusivity.
Understanding Screen Readers
What Are Screen Readers?
A screen reader is a software application that translates on-screen text and other content into speech or Braille output, allowing users with visual impairments to access websites. They play a vital role in web accessibility, enabling those with sensory disabilities to navigate and consume content efficiently.
Popular Screen Readers
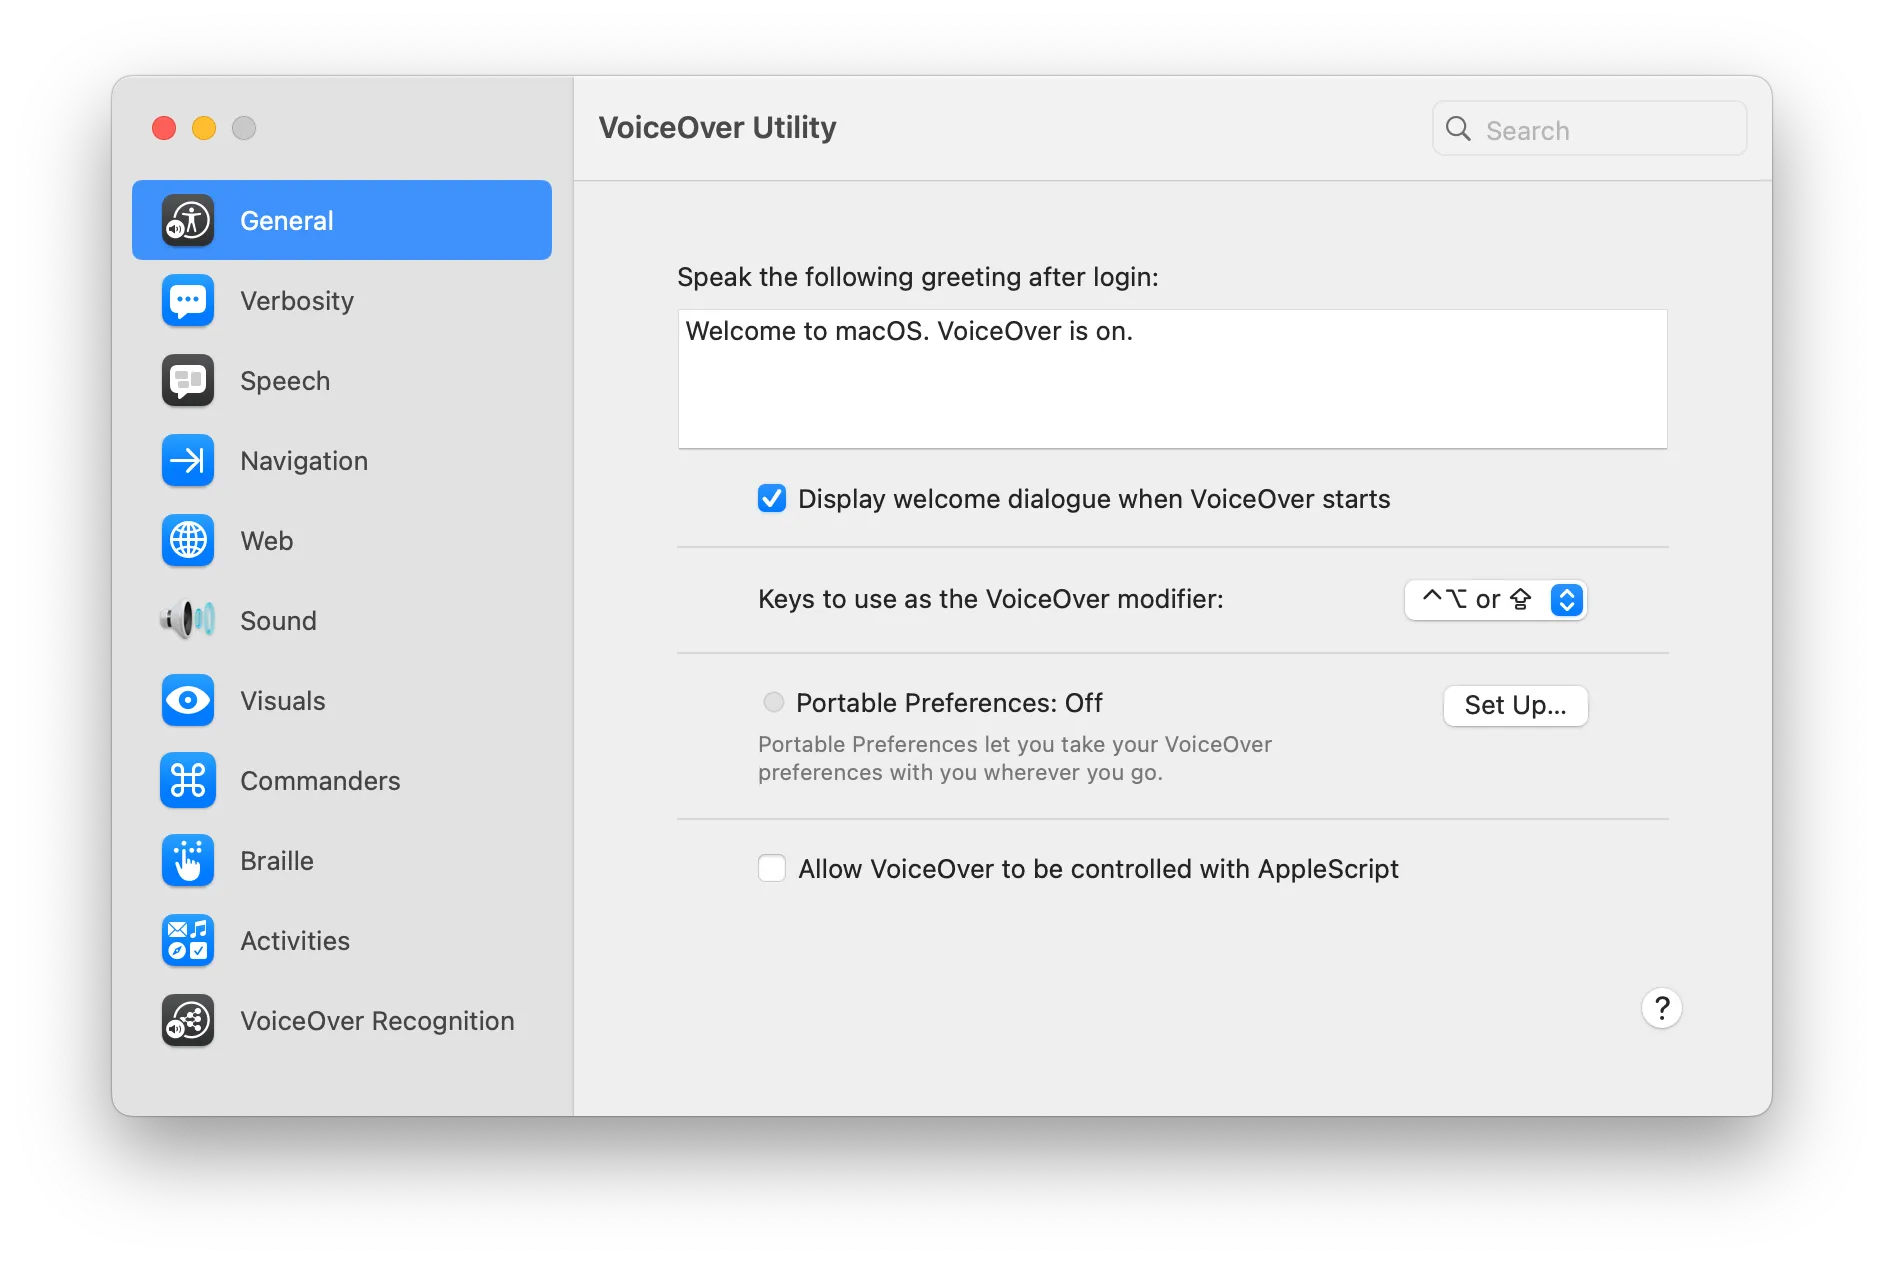
Some of the most popular screen readers include:
Practical Exercise: Using a Screen Reader
To better understand the challenges faced by users with disabilities, install a screen reader and use it to navigate a website. Turn down the brightness on your computer screen and attempt to fill out a form on any website. These exercises will provide you with insight into the daily struggles encountered by those with disabilities.
Accessible HTML for Improved Usability
Semantic HTML Elements
Utilizing proper, semantic HTML elements is crucial for creating accessible websites. Some elements provide only semantic value (such as <header>, <footer>, and <aside>), while others offer built-in functionality (<input>, <button>, and <textarea>). To create an accessible website, it’s essential to use appropriate tags and avoid making a “div soup”.
Avoiding “Div Soup”
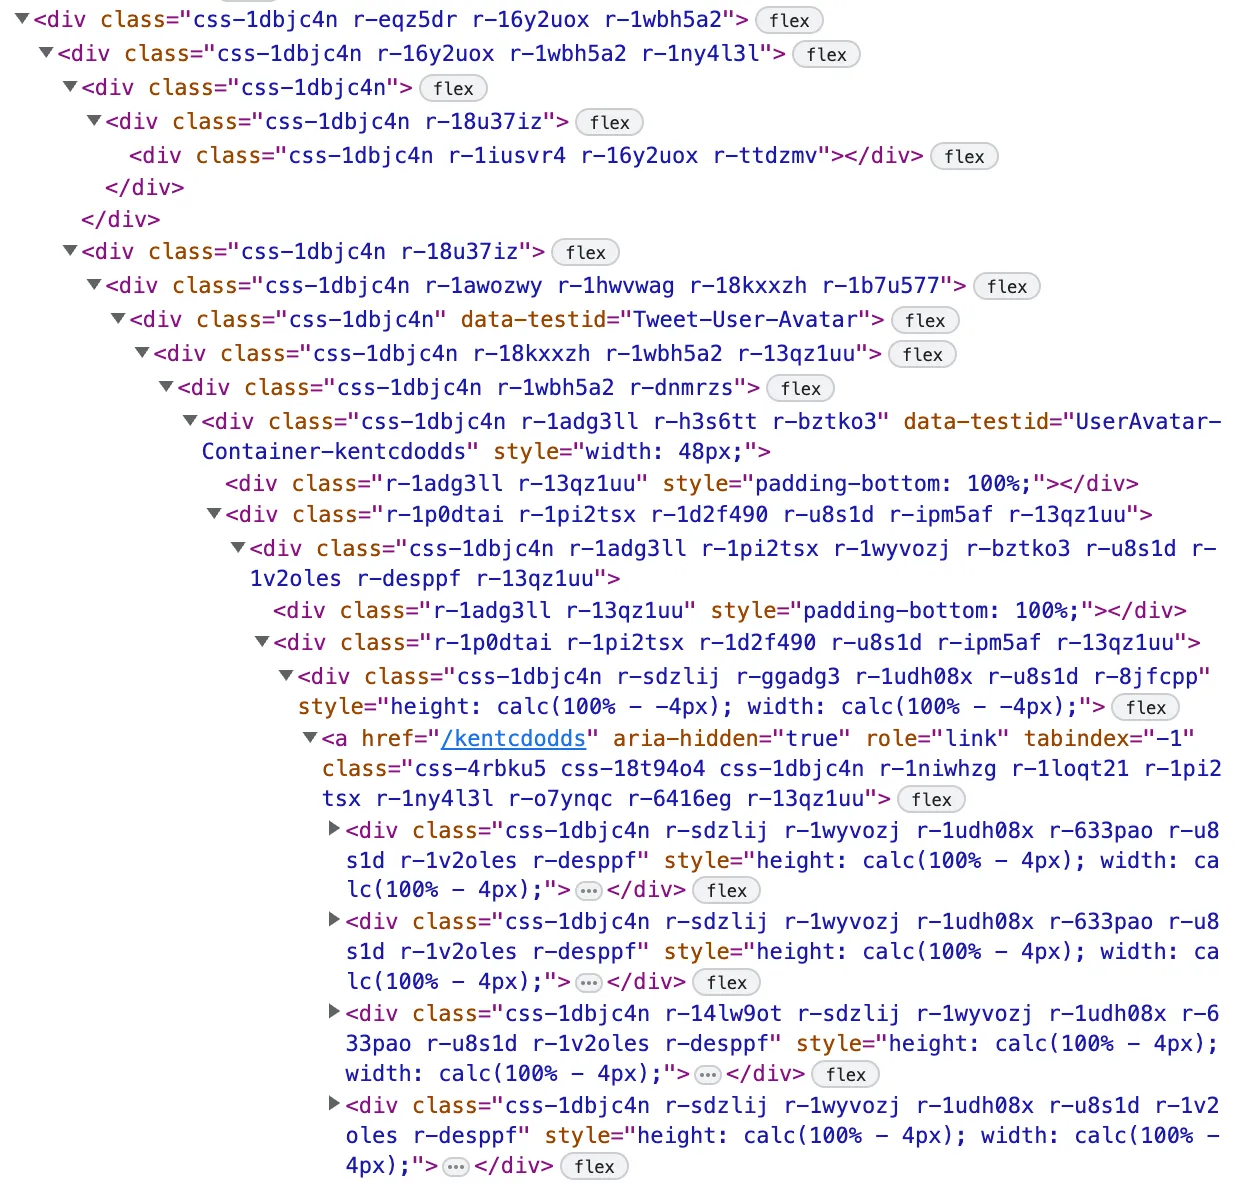
One of the main mistakes developers make when coding websites is using <div> elements for everything, leading to a cluttered and confusing layout. Instead, apply appropriate HTML elements to designate headings (<h1> to <h6>), lists ( <ul>, <ol>, and <dl>), regions, and landmarks to improve accessibility.
Guidelines from WebAIM’s Recommendations
To further improve the accessibility of your website, follow these guidelines:
-
Info and Relationships: Use semantic markup to designate headings, regions, landmarks, lists, emphasized or special text, and other essential elements. Make sure to associate form input elements with their respective text labels, and group related form elements using the
<fieldset>and<legend>tags. -
Meaningful Sequence: Ensure that the reading and navigation order determined by the code order is logical and intuitive.
Creating Accessible Form Labels
Form fields are a critical component of any website, enabling users to input information and interact with the site. To ensure that these form fields are accessible, developers must create labels that provide the necessary context and information for users with disabilities, particularly those who rely on screen readers. Let’s delve into some common issues with visual-only labels and explore solutions for creating accessible form labels.
The Problem with Visual-Only Labels
In many websites, developers use visual cues such as colors, icons, or adjacent text to indicate the purpose of a form field. However, these visual-only labels may not be sufficient for users relying on screen readers. Below is an example of problematic form code that uses a <p> tag instead of a proper label for a form field:
<p>Name:</p>
<input type="text" id="username" />
In this example, screen readers may not associate the “Name:” prompt with the input field. To make the form field accessible, you should use the <label> element along with the for attribute to associate the input with its label:
<label for="username">Name:</label> <input type="text" id="username" />Now, the “Name:” label is associated with the input field, and screen readers can correctly announce the field’s purpose.
Another approach to creating accessible form labels is by wrapping the input element within a <label> element. This technique, known as implicit labeling, associates the label and input without the need for the for attribute. Here’s an example of how to use implicit labeling:
<label
  >Name:
  <input type="text" id="username" />
</label>
In this case, the “Name:” label is still associated with the input field, and screen readers will announce the field’s purpose correctly. Implicit labeling is a convenient alternative to using explicit labels with the for attribute, while still ensuring that your form fields are accessible to all users. However, keep in mind that when using implicit labels, you should avoid adding any other interactive elements within the <label> tag, as it may cause unexpected behavior for keyboard and screen reader users.
If your form field already has a visual label that is not explicitly linked to the input, you can create an accessible label by adding the necessary attributes:
<p>Name:</p>
<label for="username" class="visually-hidden">Name</label>
<input type="text" id="username" />
In this example, a visually-hidden label is added to the form field so that screen readers can convey the appropriate information to users.
However, the <label> element can only be associated with certain interactive elements, such as <input>, <button>, <select>, and <textarea>. If you need to label an element that is not on this list, use the aria-label attribute instead:
<div aria-label="interactive div">Hello</div>By implementing these approaches, you can ensure that your form labels are accessible to all users, including those who rely on screen readers for navigation and interaction.
Visually Hidden Labels: When and How to Use Them
In some cases, designers may use placeholders instead of visible labels, making it necessary to include visually hidden labels for accessibility:
<label class="visually-hidden" for="your-input-id">Your Label</label>Apply a CSS class that hides the label visually but keeps it accessible to screen readers.
Building Accessible Buttons
Buttons play a crucial role in user interactions on websites, whether it’s submitting a form, opening a menu, or triggering an action. To ensure that all users, including those using screen readers or relying on keyboard navigation, can interact with your buttons, it’s vital to create accessible buttons using semantic HTML elements.
Using the <button> Element
The <button> element is the most straightforward and recommended approach for creating accessible buttons. This element comes with built-in properties for accessibility, such as keyboard focusability and the ability to trigger a click event using the Enter or Spacebar keys:
<button onclick="alert('Alternative text')">Click me!</button>When using a <button> element, you don’t need to add any additional attributes or event listeners, as the browser handles accessibility by default. This is why using semantic HTML tags is so essential for web accessibility – it simplifies the developer’s job while also ensuring an accessible experience for users.
How to Create a Keyboard-Accessible Button with a <div>
In comparison, creating an accessible button using a <div> element requires manually adding numerous properties to achieve the same functionality provided by the <button> element. Let’s review the steps and then discuss why this approach isn’t ideal:
- Start with a
<div>and add theonclickattribute:
<div onclick="alert('Alternative text')">Click me!</div>- Add the
roleattribute with a value of “button”:
<div role="button" onclick="alert('Alternative text')">Click me!</div>- Include a
tabindexattribute with a value of “0”:
<div role="button" tabindex="0" onclick="alert('Alternative text')">
  Click me!
</div>- Implement the
onkeyupevent listener to listen for the Enter or Spacebar key:
<div
  role="button"
  tabindex="0"
  onclick="alert('Alternative text')"
  onkeyup="alert('Alternative text')"
>
  Click me!
</div>- Apply the
aria-labelattribute for screen readers:
<div
  role="button"
  aria-label="Display an alert with alternative text"
  tabindex="0"
  onclick="alert('Alternative text')"
  onkeyup="alert('Alternative text')"
>
  Click me!
</div>
While this method creates a fully accessible “button” using a <div> element, it entails numerous manual adjustments and does not provide the same ease and efficiency as using a <button> element. Additionally, using a <div> element for buttons may result in inconsistencies across different devices and browsers, as they don’t have the inherent accessibility features of semantic HTML elements.
Moreover, using <div> elements for buttons can lead to code that is difficult to maintain and understand, especially for other developers who may inherit your project. In contrast, using semantic HTML elements, such as <button>, promotes cleaner and more comprehensive code.
The Benefits of Using Semantic HTML Tags
As demonstrated in this section, using semantic HTML elements can significantly streamline the development process and improve code quality. These elements come with built-in browser support, standard accessibility features, and better discoverability by search engines, which not only benefits users with disabilities but also positively impacts your website’s SEO.
To create an accessible and user-friendly website, always opt for semantic HTML elements, such as <button>, instead of relying on <div> elements and manually adding accessibility properties.
By embracing web accessibility best practices, developers can improve the user experience, cater to a broader audience, and ensure that their websites are inclusive for everyone.
Conclusion: Embracing Web Accessibility as a Developer Obligation
With a better understanding of the importance of web accessibility, developers can now take the necessary steps to create inclusive websites. By applying semantic HTML, following accessibility guidelines, and considering the needs of users with disabilities, developers can improve the user experience of their websites and cater to a broader audience.
To further your web accessibility knowledge and practices, explore resources such as the WCAG guidelines, WAI-ARIA documentation, and WebAIM guidelines. Remember, creating accessible websites is not only a benefit but a responsibility for all developers.